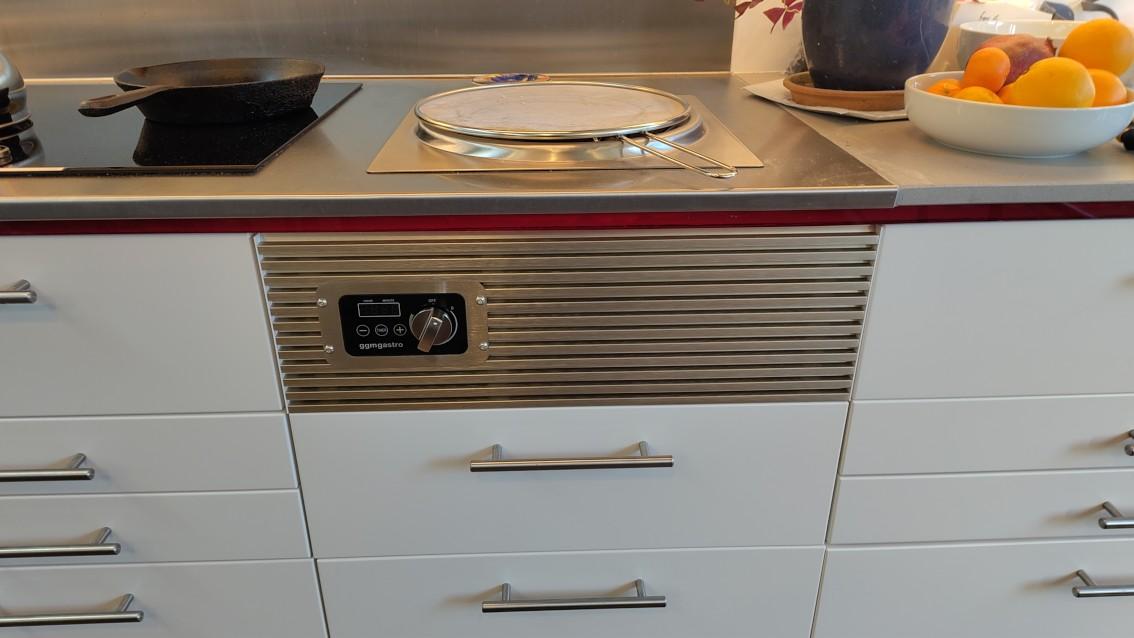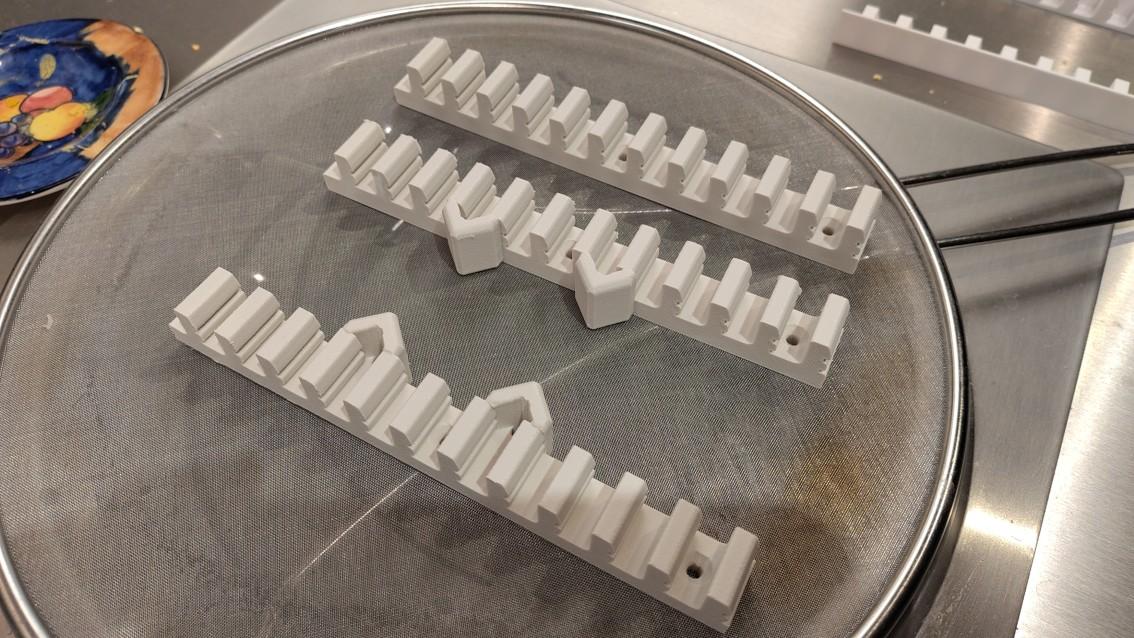
I made an enclosure for build-in induction cooking hobs. The build-in models are usually much cheaper and have better features than the free-standing ones. The corner blocks and ventilation grills are 3D printed and the side panels are 6mm thick aluminium composite plates. The plates are glued to the corner blocks using epoxy.
The price of the ACP plates and glue combined is still far cheaper than the difference between build-in and free-standing induction hobs and it’s quite a simple model.
Here is the model and design file.
https://www.printables.com/model/1769315-induction-hob-enclosure
You must log in or # to comment.
hell yeah, i hate how normal it is to have everything built into the same device, it’s so inflexible for basically no reason!
Much better to have things separate, so you can replace them independently or maybe skip the oven entirely and just put the cooktop on, say, the dishwasher.Very nice I always love seeing 3d prints and regular diy mixed together to make a finished piece.
@shelf
Reminds me that I haven’t posted a picture of mine. The interesting thing about it is the 3D prints that aren’t visible. The ventilation grille is [factory] made from bent strips and supplied with plastic mounts, but these mounts were too short and didn’t allow for the insertion of the control panel, so I 3D printed replacements that screw to L-shaped pieces of MDF behind the grille.
@Rolive